Digital content (software) service · User-configured and user-connected technical support software
MOABOT is a digital content service that provides quantitative algorithm-based analysis tools and order relay software for TradingView. This service does not custody, hold, or manage user funds, and does not make investment decisions, generate orders, determine order parameters, or execute orders on behalf of users.
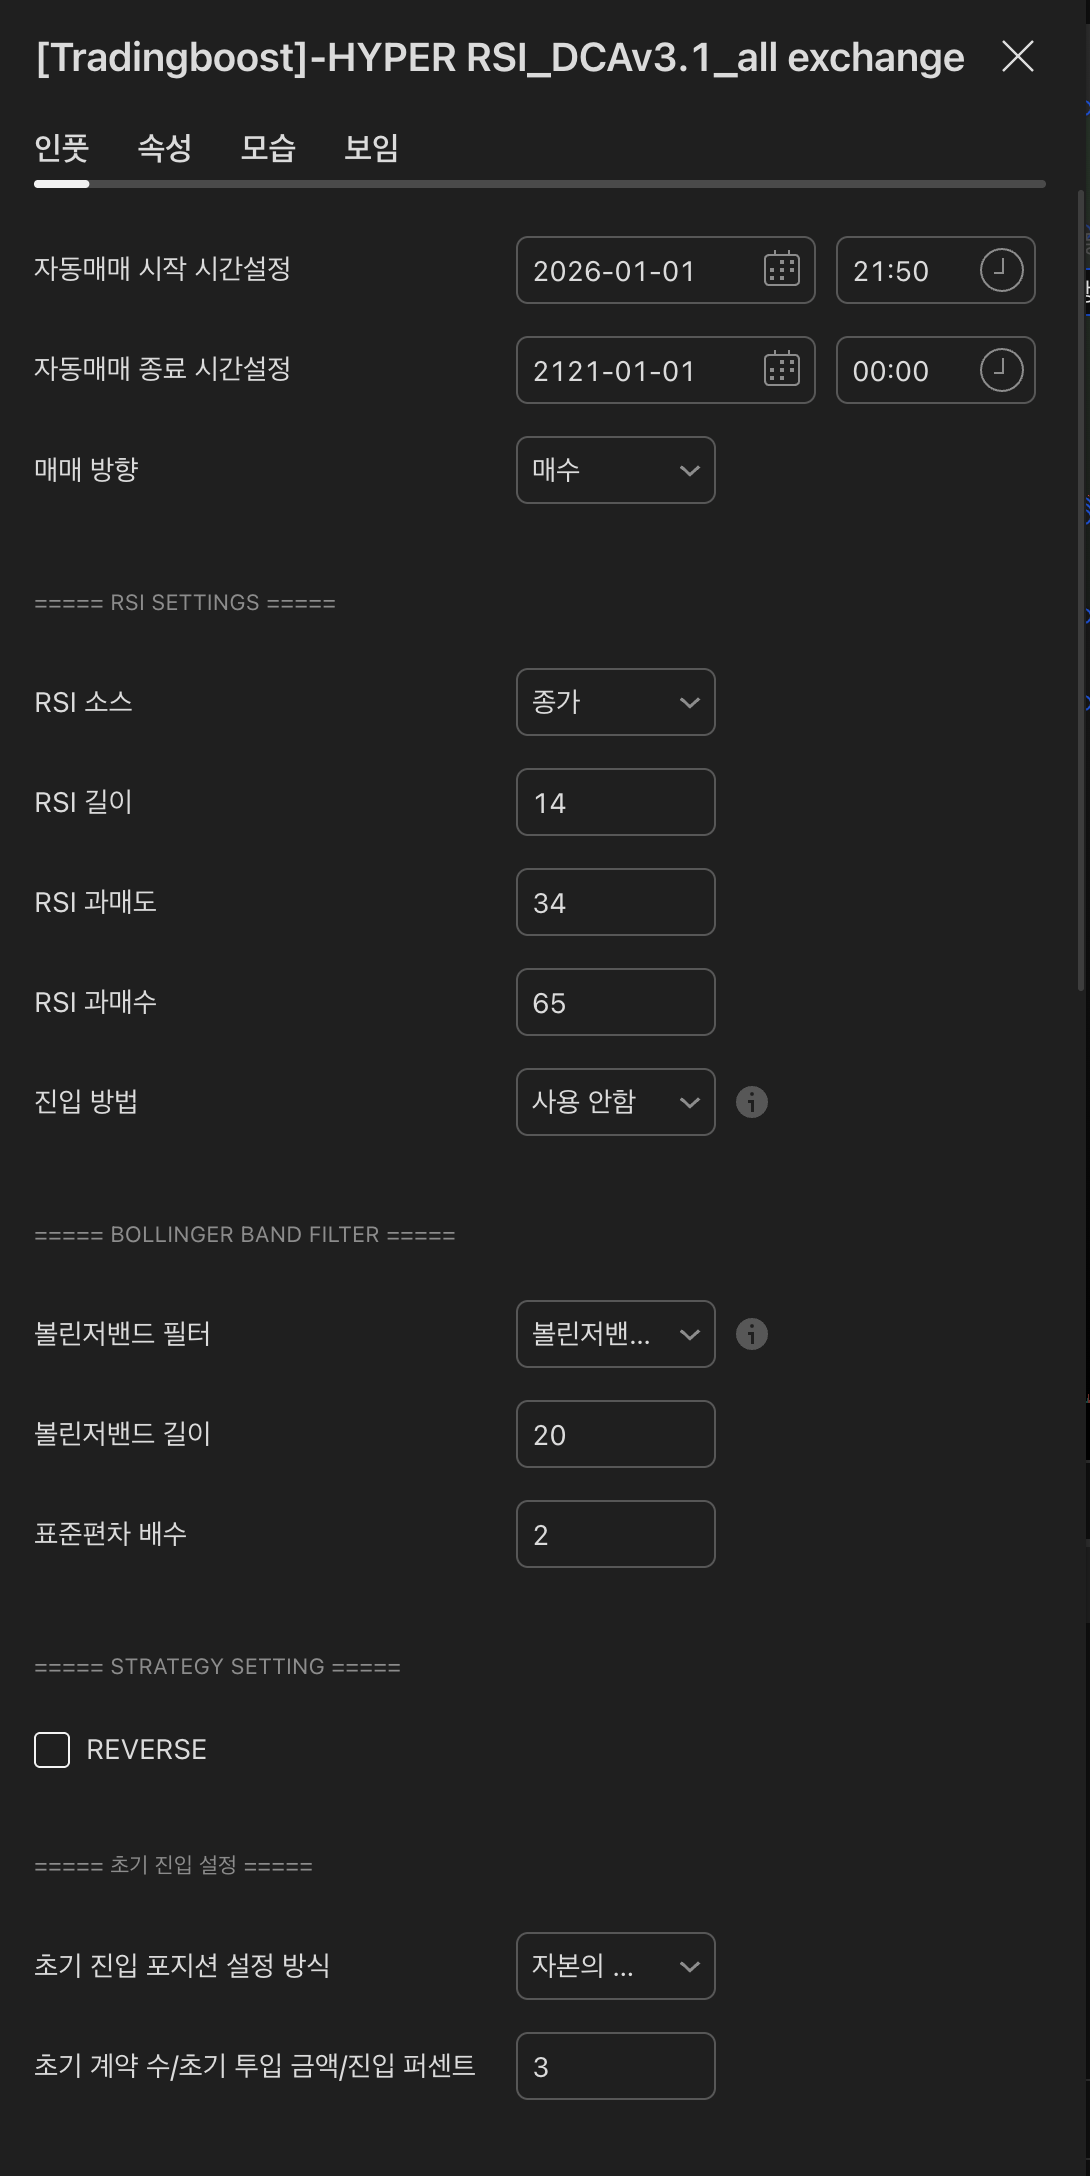
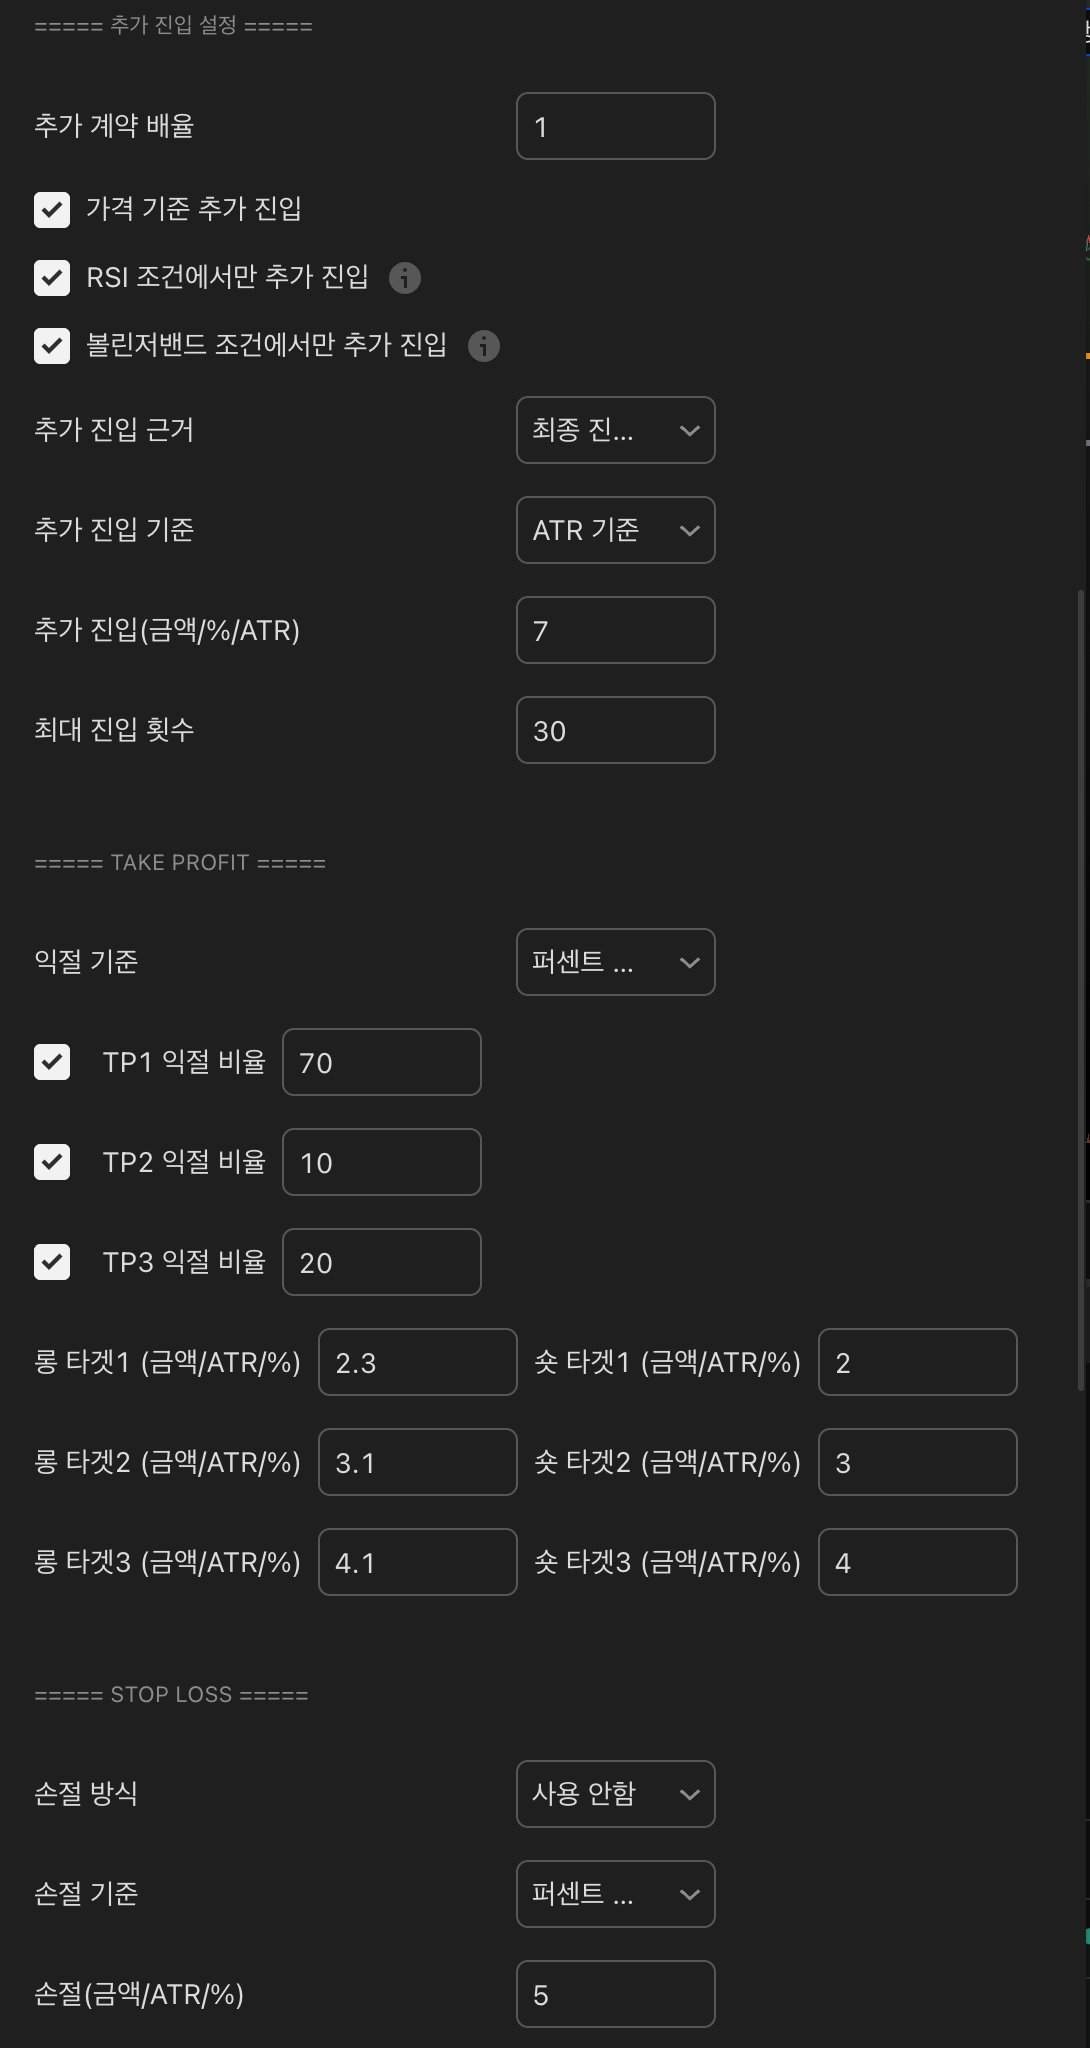
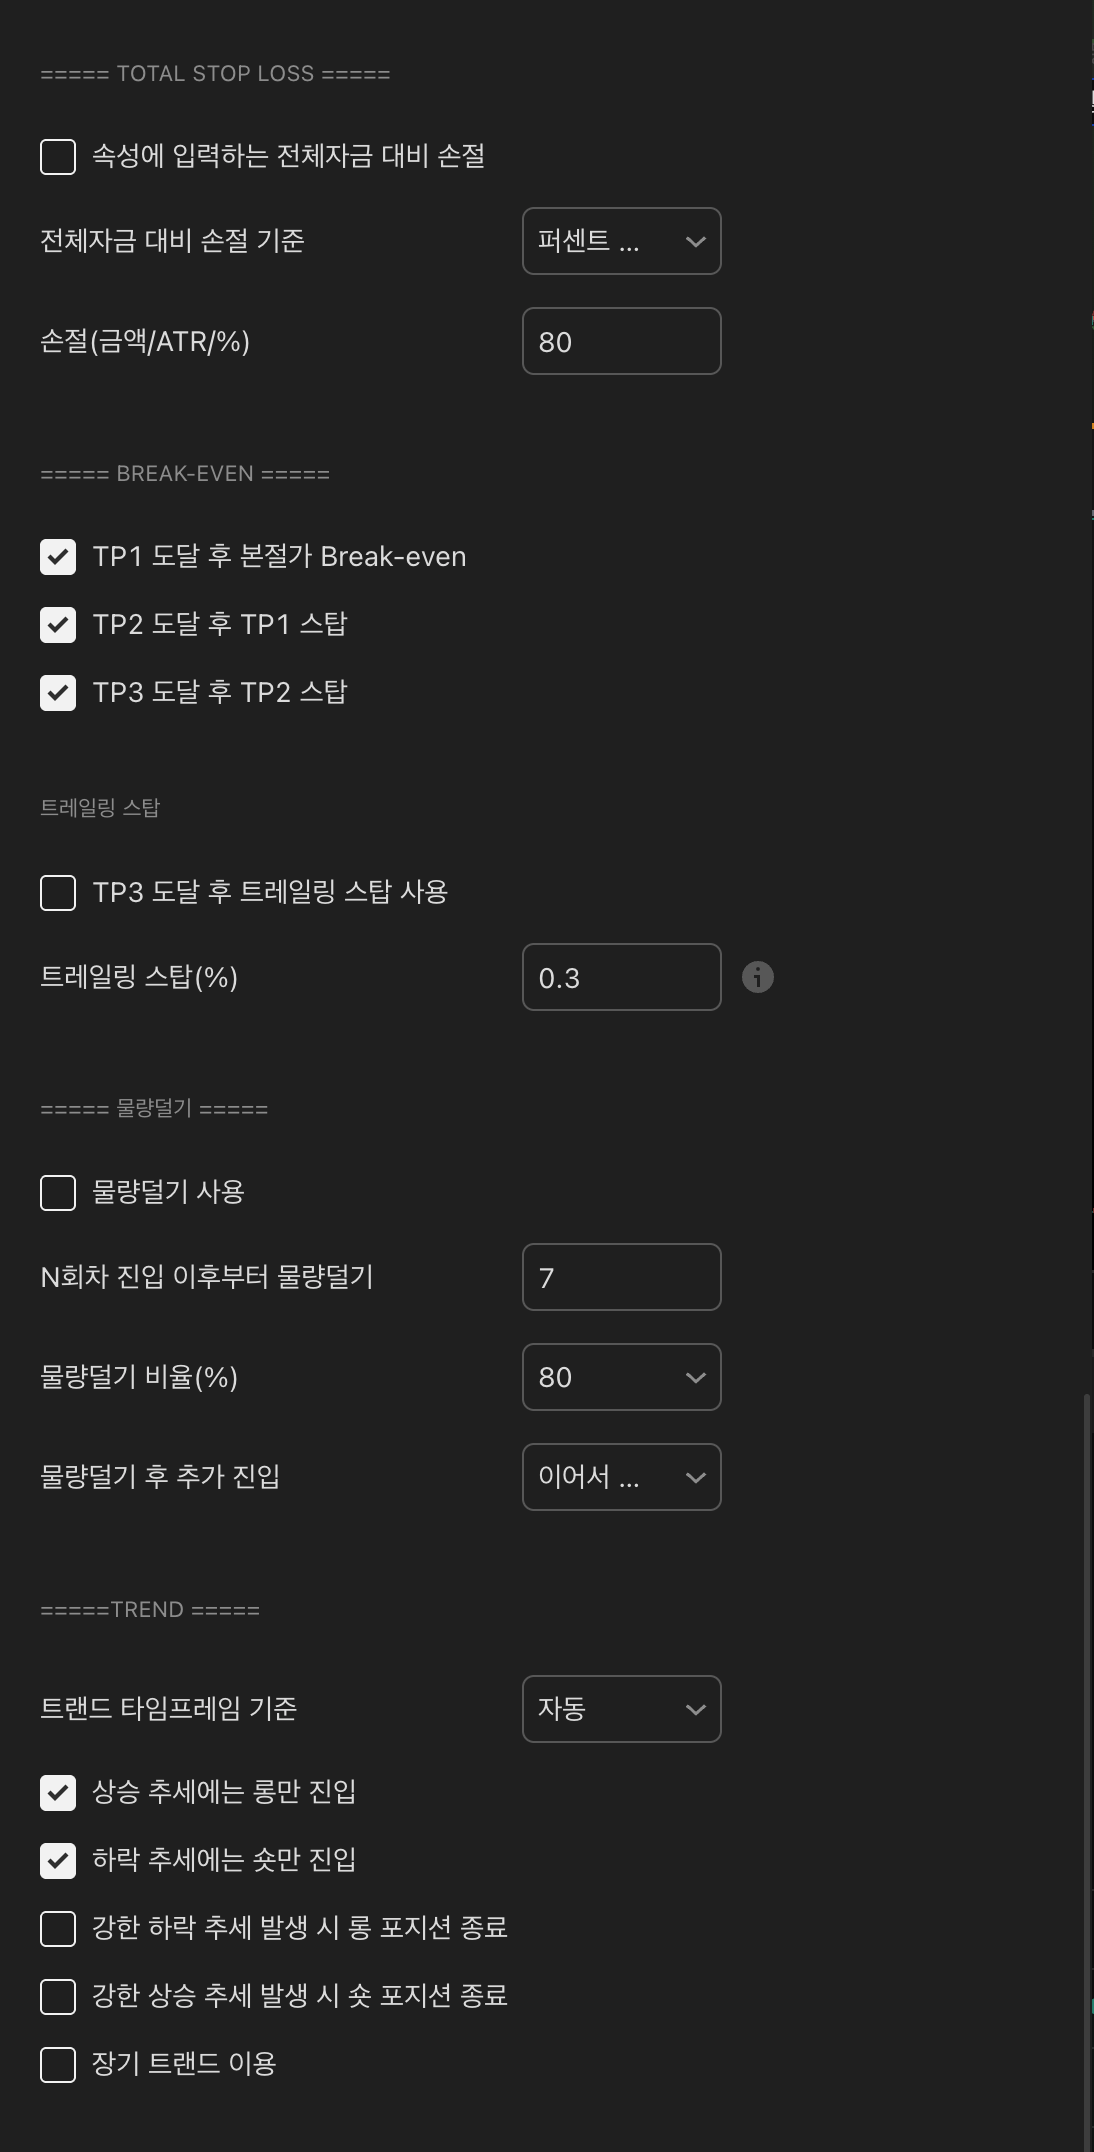
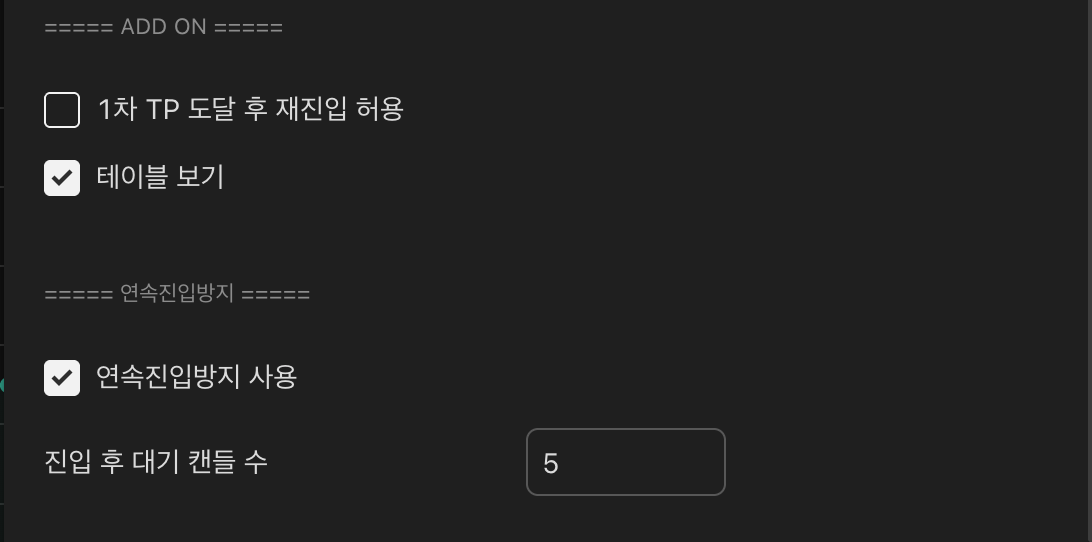
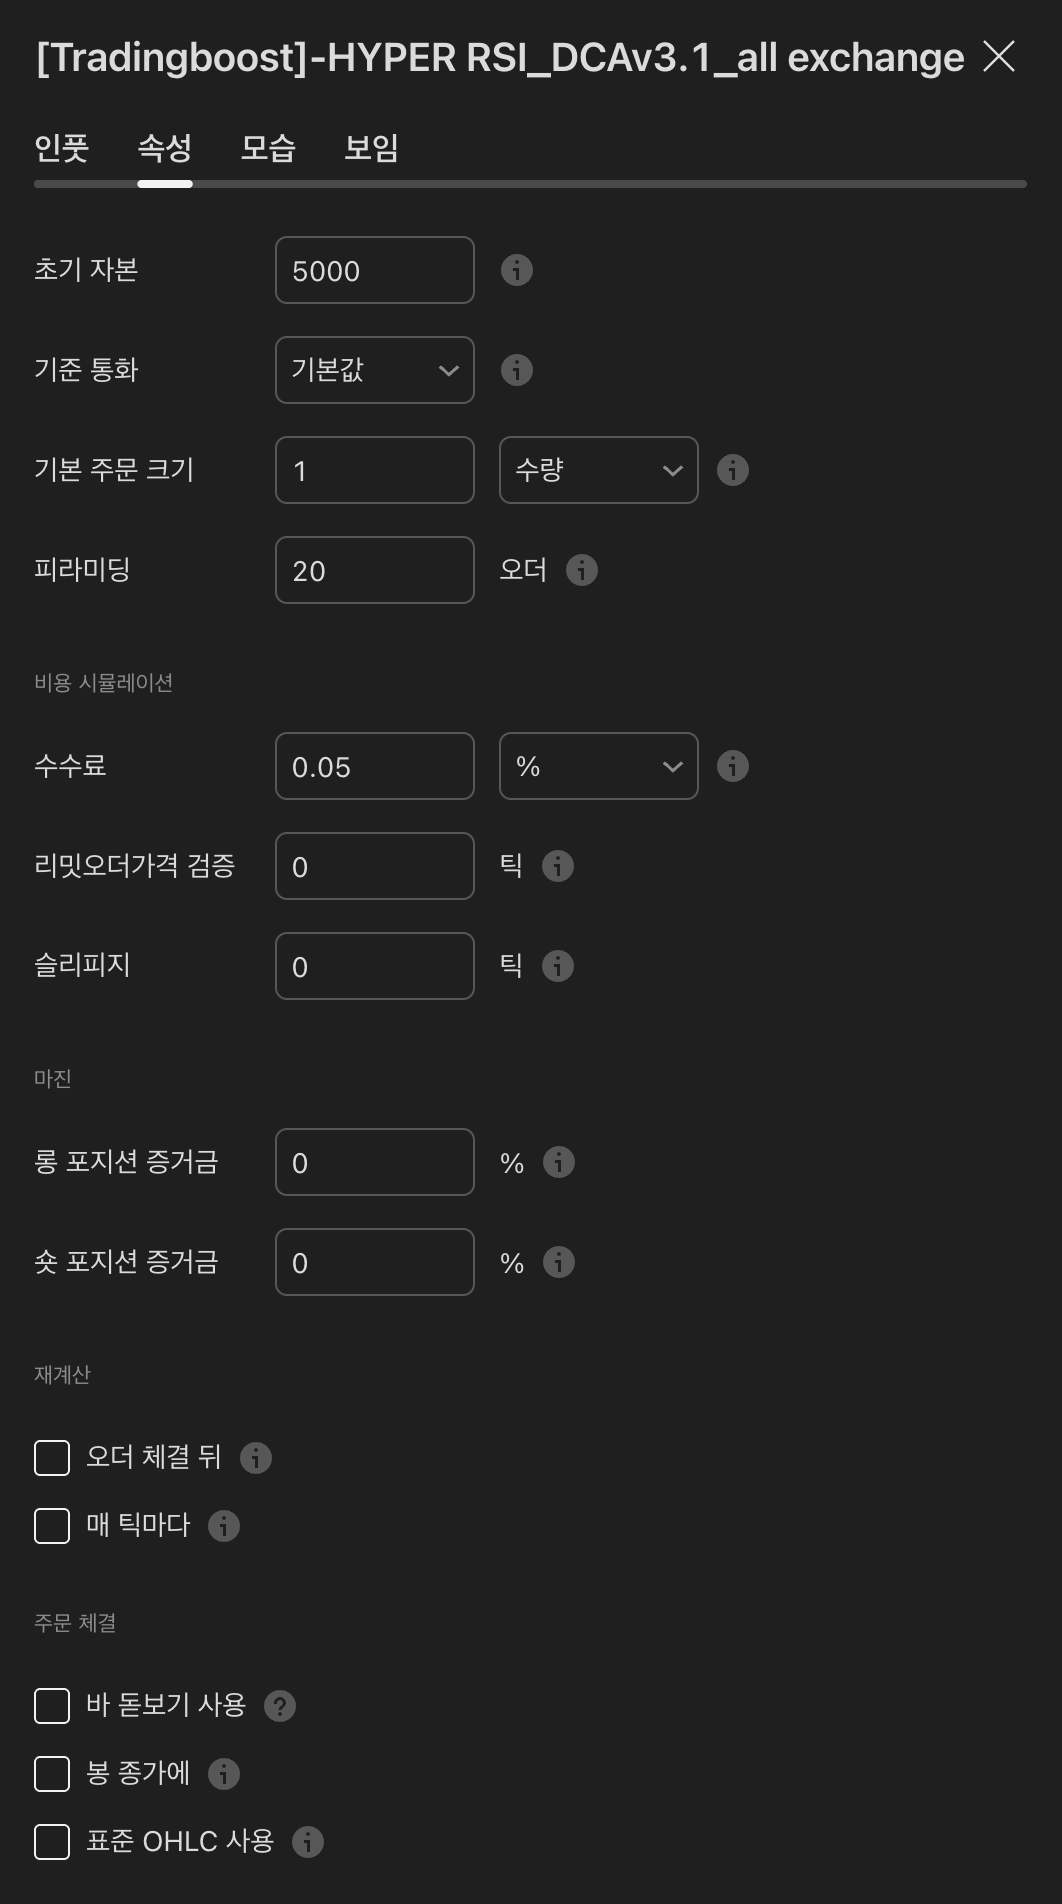
The order relay function, including MOAHook, is a software feature that technically transmits or relays signals based on the strategies, parameters, alerts, webhooks, and exchange API connections that users directly select and configure. Users directly decide and manage strategy selection, parameter input, webhook connections, API setup, and whether to execute orders.
The company may provide general guidance on service usage, webhook setup, and API integration methods, but this constitutes only technical guides and does not represent individual judgments, recommendations, instructions, or customized investment advice regarding the purchase/sale, price, quantity, or timing of any financial instrument.
Indicators, algorithms, example screens, backtest results, simulations, and other information provided through this service are for general and technical informational purposes only and do not guarantee profits or loss avoidance. Past performance and test results do not guarantee future performance.
User transactions may be executed differently than expected or may not be executed at all due to market volatility, insufficient liquidity, slippage, exchange outages, API errors, network delays, user configuration errors, and other external factors. The company shall not be liable for results caused by such factors unless due to the company's willful misconduct or gross negligence. Trading carries the risk of principal loss, and leveraged trading may result in losses exceeding the initial investment. All responsibility for strategy selection, configuration, integration, order execution, and their results lies entirely with the user.